You may have read one of my previous posts where I discussed the routine backups which Microsoft can take of your CosmosDB instance. If you haven’t read it already, you can find it here:

Defining your Backup Policy for CosmosDB
You may, or may not, be aware that CosmosDB units are backed-up automatically by the great guys at Microsoft. Not only that, you have some flexibility over both the frequency and retention of the backups. In order to define the frequency and retention, there are two metrics which you need to determine. These are: the…
In this post, i’m going to discuss how you can manage your own backups, using Azure Data Factory. This allows you to move your data to a data source of your choice.
Whether it’s to have a temporary backup of your data, perhaps to perform some form of testing, or whether it’s to form part of your backup strategy, or even as part of data ingestion for further processing, Azure Data Factory is an excellent service from Microsoft to enable to you do these things.
For this scenario, i’m going to demonstrate how you can pull data from an instance of CosmosDB, to another instance. You can however, replace my target instance with storage of your choice.
Firstly, you will need to create an instance of Azure Data Factory.
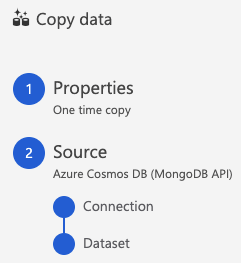
The next step is to create the Pipeline. In this case, we’re going to choose the template ‘Copy Data’:

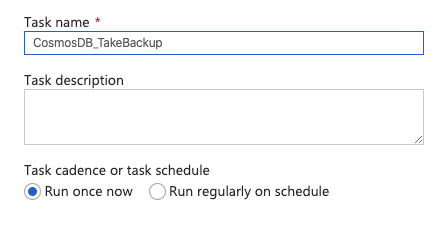
Define the name for the task:
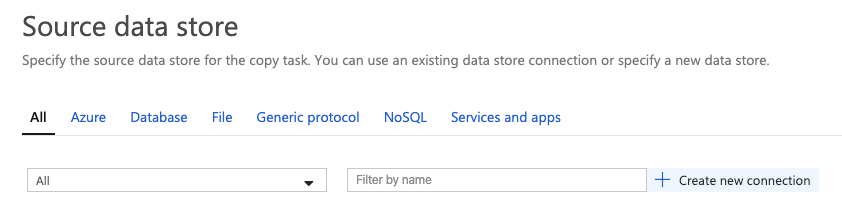
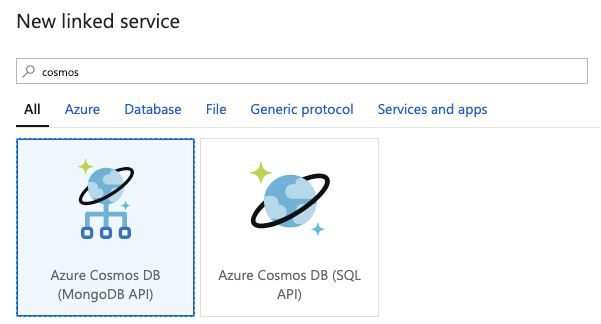
The next step is to define the details of the source data store – in this case, it will be CosmosDB – i’m going to choose MongoDB API:
Microsoft provide many types of providers for you to choose to link to Data Factory in order to Copy data from. For our example, filter and/or choose MongoDB (you can link a source provider of your choice):
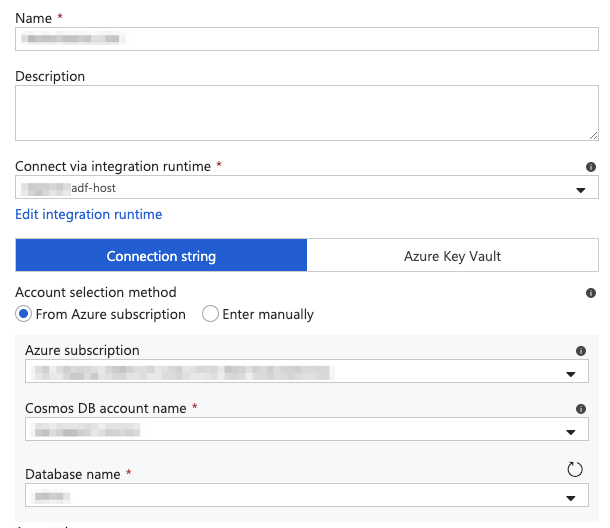
Next, you need to refer to the type of agent which will run the Copy task. I have my own Integration Runtime (agent). Instead, you can refer to a hosted version.
Proceed by entering the connection string of the source storage device, manually; or, by selecting the Azure subscription, the CosmosDB Account name and the Database name:
Confirm the agent is able to connect to the source by testing the connection:

You then have the option to select the Collection(s), or Container(s) should it be the case (SQL API), which you want to copy. In this case, I have chosen to copy just the one Collection:

At this stage, you have completed the defining the Source storage device:
Now, we move to the Target data store. Again, create a new connection:
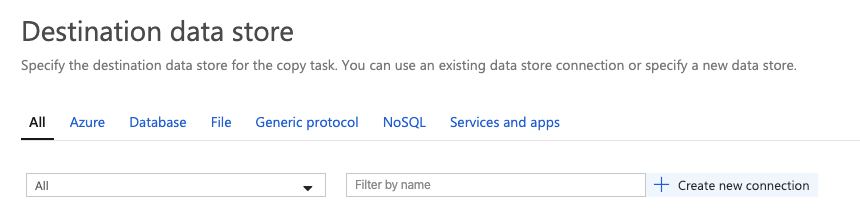
Filter and/or choose MongoDB (you can link a target provider of your choice):

Next, specify the details of the Target Collection.
(Note: you will need to create the Collection / Container prior to completing this step:

Again, test the connection:

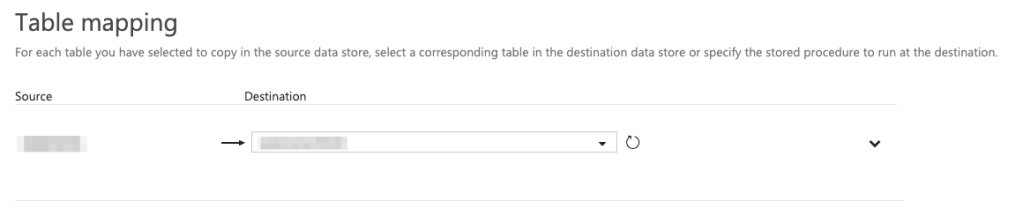
Once this has been defined, the next step is to map the Source Collection to the Target:
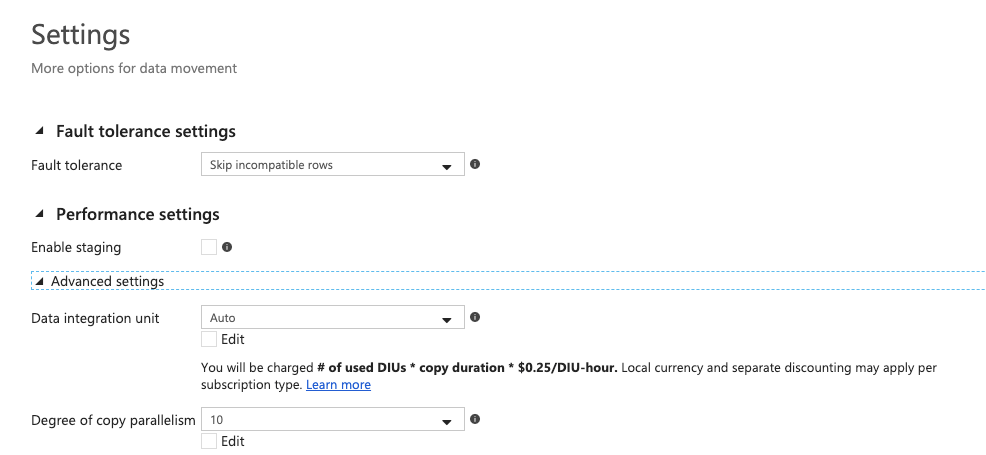
You can then define the options you wish to set for the copy task e.g. whether to stop the job on error, continue on error and leg, etc. This is also where you define the Performance settings e.g. parallelism:
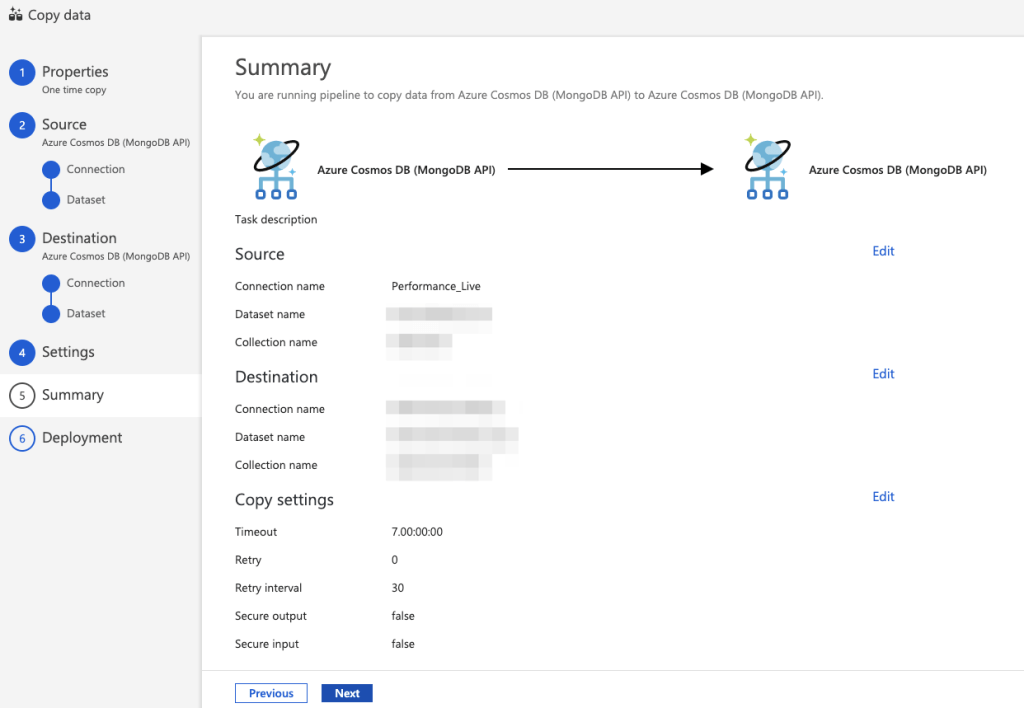
Once this is completed, you can review a summary of the settings for the Copy Task:
You can then proceed to complete the setup and Publish the configuration:

With this configuration, the task will run immediately. It can, of course, be scheduled – bare in mind you may need to decide on the policy for replacing the collection or Upserting documents which are already present – your choice will depend on the type of environment your instance is running on and the transience of your data:

